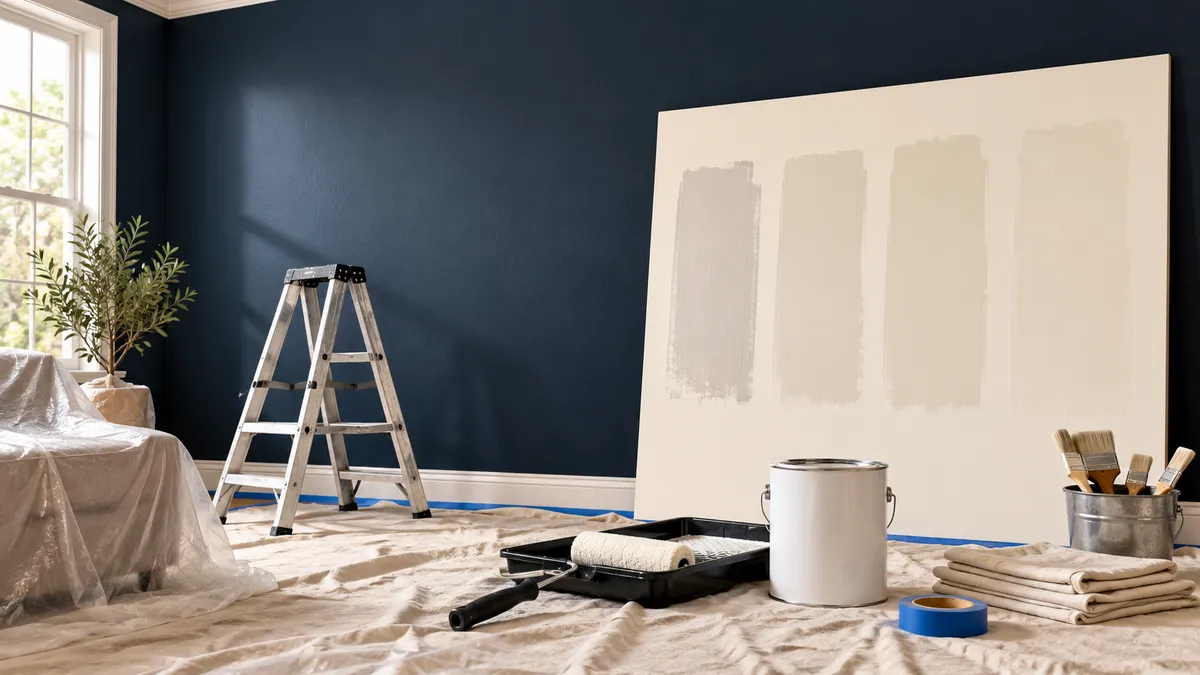
Painting Dark Walls a Light Color: How to Plan for Even Coverage
A dark dining room, bold bedroom, or deep accent wall can be ready for a lighter chapter. The change often looks simple in an inspiration photo, but a dependable plan starts with the existing surface and the intended finish. Color coverage, repairs, primer choice, and application all deserve attention. For a San Antonio homeowner moving from navy, burgundy, charcoal, or another strong shade to a pale neutral, the useful goal is an even finished wall with a clearly defined scope, rather than a promise based on a fixed number of coats alone.
Confirm that the lighter color works in the room
Before focusing on coverage, make sure the new color belongs with the room’s fixed finishes. Compare samples beside flooring, trim, stone, and the largest furnishings. A pale neutral can look warmer or cooler than expected when the old dark wall surrounds the sample.
Use a sufficiently large sample and give yourself a clean visual border where practical. Check it in daylight and under the lamps you normally use. If the old accent wall will disappear into the surrounding room color, compare that choice across the other walls too. The project should solve the actual design goal, whether that is a softer background, better coordination, or a different relationship between adjoining rooms.
Assess the existing coating before covering it
Look for loose paint, greasy marks, old repairs, and uneven texture. A strong color can distract from those conditions, but a new pale finish may make some of them more noticeable. Tell the painter about areas that have been patched repeatedly or coated with an unknown product.
Discuss the surface preparation separately from the color change. If a wall is sound, the work may be quite different from one with peeling paint or extensive damage. Active moisture problems should be resolved before repainting. In an older home, establish lead-safe requirements before sanding or scraping. Changing the color does not remove the need to understand what is already on the wall.
Ask what role primer serves in this project
Primer selection should follow the surface and coating system. Sherwin-Williams notes that dark-to-light changes can be situations where priming is useful. Bare repairs, difficult existing coatings, and stains may also affect the choice, but they are separate issues rather than one interchangeable reason to use any primer.
Ask the painter to explain the proposed product and whether it will be used across the wall or only where needed. If primer tint is relevant, follow the chosen system’s guidance. Sherwin-Williams discusses matching primer shade to the intended topcoat. Avoid substituting a leftover primer simply because it is already in the garage; suitability matters more than the convenience of an open can.
Define the finished result instead of a shortcut
Ask how the proposal handles full, uniform color coverage. The number of coats is useful information, but it should be understood alongside the actual products, colors, surface condition, and application requirements. A dramatic color change is a poor place to rely on an unexplained “one-coat” promise.
Clarify what happens if the existing color remains visible after the planned application. Also distinguish coverage from physical smoothness. A wall can have even color while retaining a raised patch or an old roller ridge. Identify those concerns before work starts so the preparation and finish expectations line up. This makes the proposal easier to compare with another one that may describe the work differently.
Review edges, adjoining colors, and overlooked surfaces
A former accent wall has boundaries. Check the ceiling line, adjacent corners, door casing, and baseboard for traces of the old color or existing uneven edges. Decide whether nearby surfaces need repainting or simply protection. The project can look incomplete if a narrow strip beside a cabinet is left out unintentionally.
In an open-plan room, confirm where the new color stops. If one wall becomes lighter but the adjoining wall stays dark, approve that contrast intentionally. If the goal is a unified room, list all the included surfaces rather than assuming the painter will infer them from the color choice. A marked photograph can help communicate complicated boundaries.
Allow a proper review and save the new specification
Evaluate the completed work after it has dried as directed, using ordinary daytime and evening lighting. Look for uniform coverage and review the preparation items in the agreed scope. A wet patch is not a reliable basis for deciding that the color is wrong or that another coat is needed.
Keep the final product, sheen, and color information, and ask about early care. Take a few wide room photographs for your own records once everything is back in place. If you plan to continue the lighter palette through the house, those records and the approved physical sample provide a useful starting point. The next phase will be easier when the first decision is clearly documented.
Plan your interior painting project
Share the current wall color, your lighter-color samples, and any problem areas when requesting a project discussion. Art Vandelay Painting can review the intended surfaces and help define a practical repaint scope. Contact Art Vandelay Painting or call 210-940-0055 to discuss your San Antonio, Greater North San Antonio, or Hill Country home.
Image: Original illustrative concept; not an actual customer or completed project.
