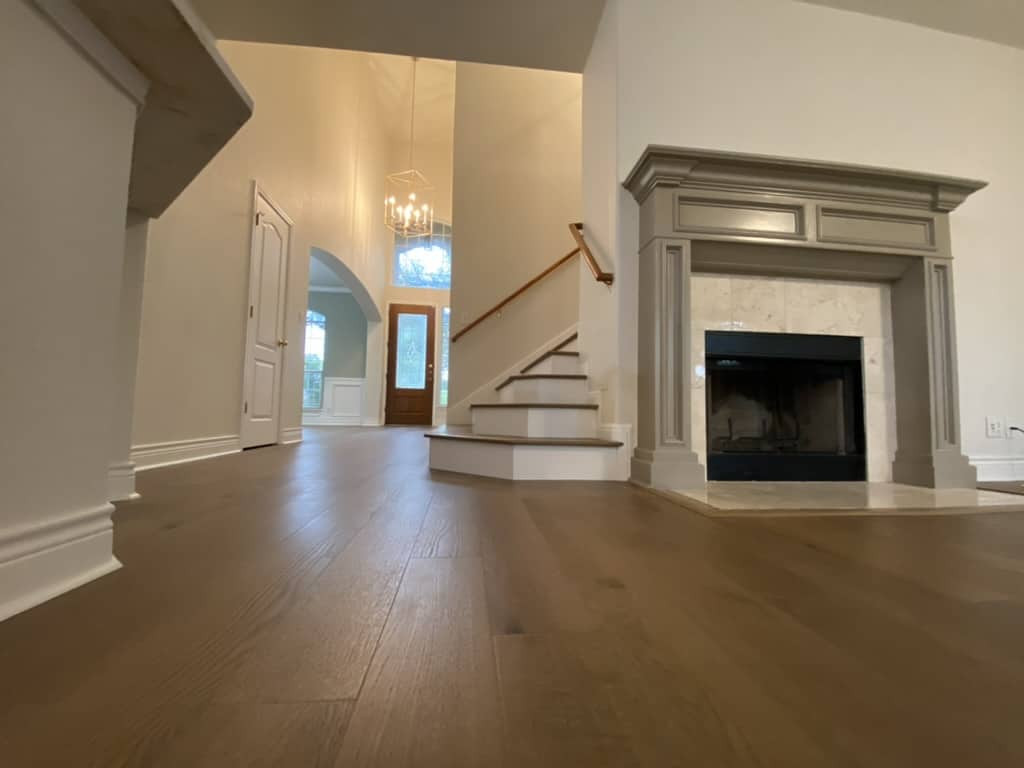
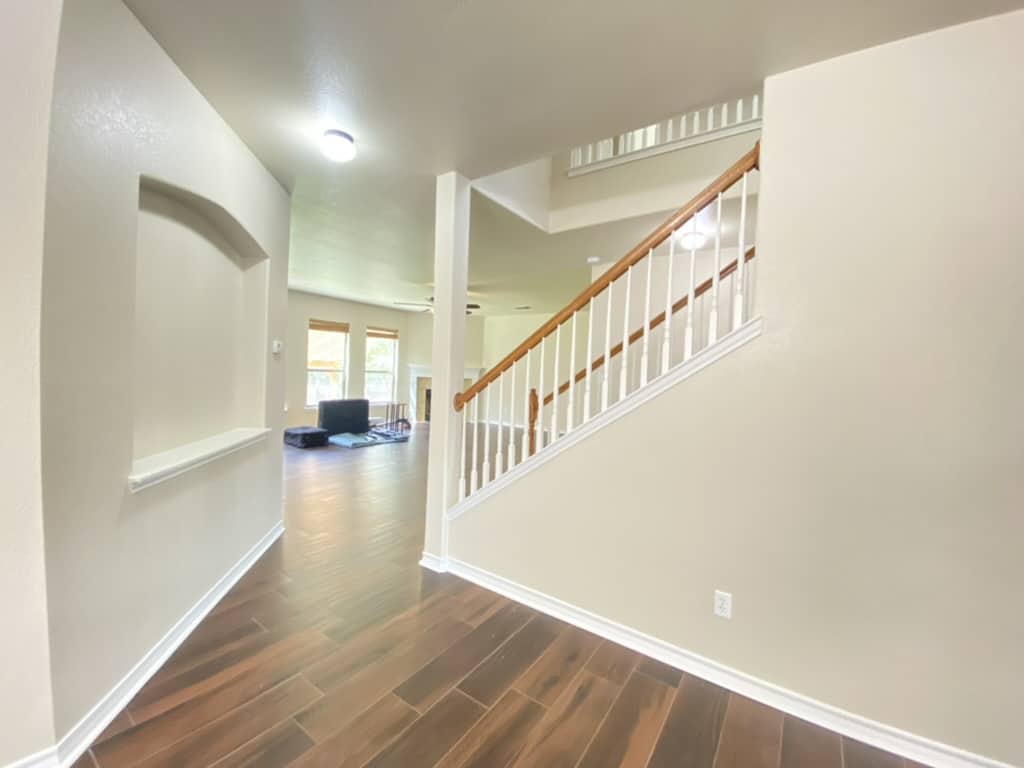
Painting walls white can completely change the feel of a home. It brightens up rooms, makes spaces look bigger, and gives your home a fresh, clean look. But let’s be honest—getting that perfect white wall isn’t as easy as it sounds. If you’re tackling interior house painting in Boerne, TX, you’ll want to do it right the first time.
I’ve spent years helping homeowners transform their spaces, and I can tell you firsthand that choosing the right paint, prepping correctly, and applying it the right way make all the difference. Whether you’re rolling up your sleeves or calling in a house painter, these tips will help you get a smooth, professional finish without the headaches.
Key Takeaways
Finding the Right White for Your Walls
Not all whites are the same. Some are warm and cozy, while others are crisp and cool. The way your white walls look will depend on the natural light in your home and the colors in your furniture and decor.
Warm vs. Cool Whites: What’s Best for Your Home?

Before committing, test different shades by painting swatches on your walls. Look at them during different times of the day to see how they change with the lighting.
Prepping Like a Pro
Good prep work is the difference between a smooth, professional finish and a patchy, uneven mess. Skipping this step might mean extra coats of paint, streaks, or peeling later.
Step 1: Clean Those Walls
Dust, grease, and stains will keep your paint from sticking properly. Use a damp cloth or mild detergent to wipe down the surface. For kitchen and bathroom walls, make sure to remove any built-up grime or moisture damage.
Step 2: Patch and Sand
If your walls have holes, cracks, or dents, now’s the time to fix them. Use a lightweight spackle to fill gaps, let it dry, then sand it smooth. This step is especially important if you’re covering a darker color.
Step 3: Don’t Skip the Primer
A high-quality primer is your best friend when painting walls white. It prevents stains from showing through and helps the new color go on evenly. If you’re covering a dark or bold color, a primer will save you from needing multiple coats of paint.
For an extra smooth finish, lightly sand between coats of primer and paint.


The Right Tools for the Job
A professional interior house painter will tell you that the tools you use make a huge difference in how your walls turn out.
Why it matters? Cheap brushes and rollers can shed bristles, leave streaks, and make painting more difficult. Invest in good tools, and you’ll get a smoother, more even finish.
Applying Paint Like a Pro
You’ve got the right color, prepped your walls, and picked up quality tools—now it’s time to paint.
Use the Right Technique

Thin, Even Coats Work Best
An interior house painter knows that slapping on a thick coat of paint to finish faster is a mistake. Thick coats take longer to dry, show brush marks, and are more likely to peel later.
Two thin coats will always look better than one thick coat. Let each coat dry completely before adding the next.
Why Work with a Professional House Painter?
If you want to save time and guarantee a flawless finish, hiring a house painter is the way to go. A professional brings experience, skill, and the right tools to get the job done right—without the stress of DIY mistakes.
Let Art Vandelay Painting Handle It
At Art Vandelay Painting, we take care of everything—from color selection and prep work to clean-up and finishing touches. Whether you need one room painted or an entire home makeover, we’ve got the experience to make your space look incredible.
If painting walls white is on your to-do list, don’t tackle it alone. A fresh coat of paint can completely transform your space, and we’re here to make the process smooth and stress-free.
Call Art Vandelay Painting today at 210-939-4480 for a FREE estimate. We proudly serve Live Oak, Boerne, New Braunfels, TX, and the surrounding areas. Let’s bring your vision to life!


